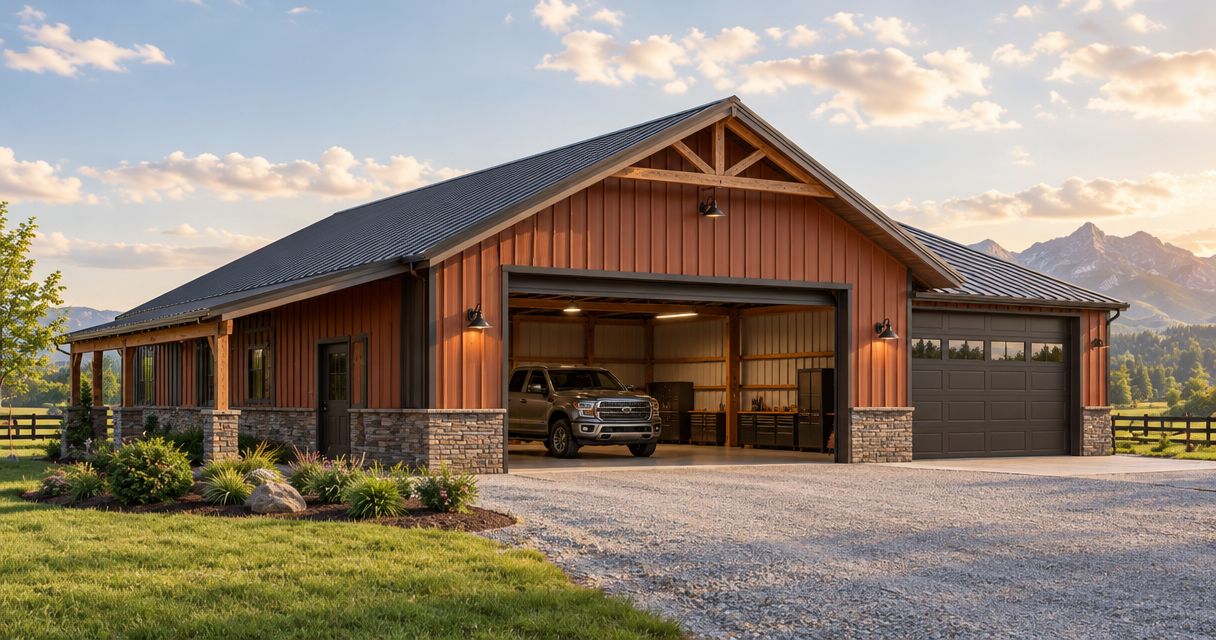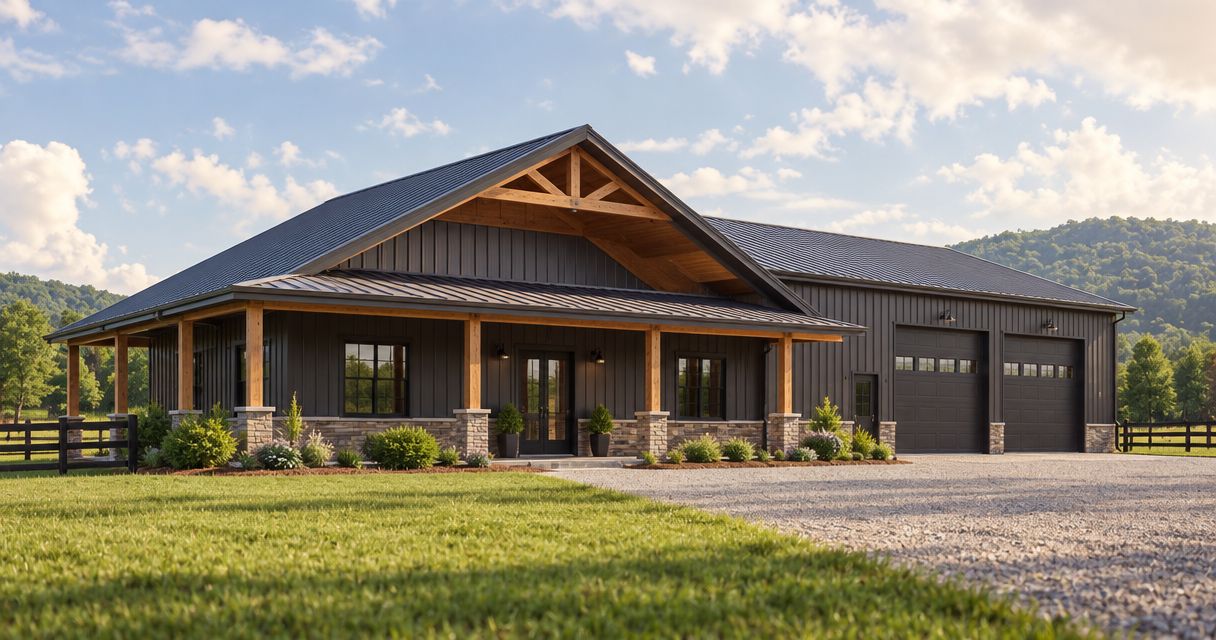
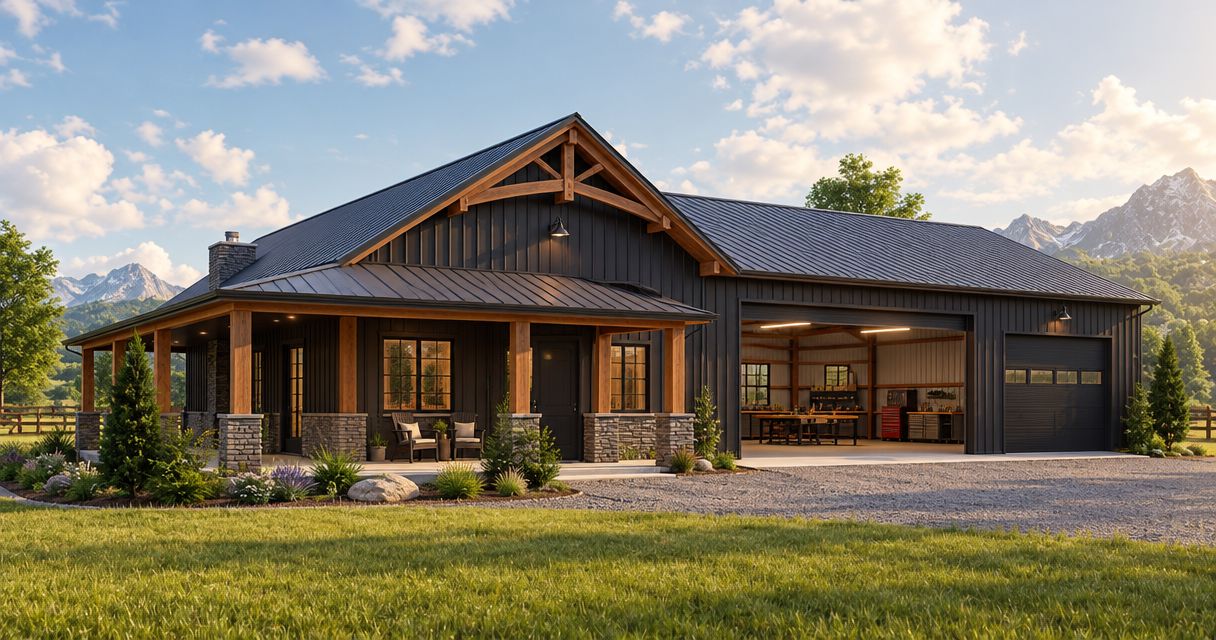
For workshop owners, pole barn construction is a post-frame building approach designed to provide usable space for tools, equipment and work. This guide to pole barn builders for workshops explains how to plan power, layout and access before you commit to a building shell that leaves essential work unfinished.
- Choose pole barn builders for workshops by comparing complete scopes, not exterior dimensions alone.
- Ayrescontracting suits Bowling Green-area buyers seeking a local, licensed and insured general contractor.
- Plan electrical loads, concrete requirements and equipment access before approving the workshop layout.
- Separate workshop construction from finished living space; a barndominium requires a residential scope.
Why pole barn construction matters for workshop owners
A workshop needs more than covered storage. Your machines need usable clearance, your workstations need power, and your deliveries need a route from the road to the building. A shell estimate does not answer those questions unless the proposal specifically includes them.
For a 2026 project near Bowling Green, start with the building's intended use and the property constraints. A personal woodworking shop, a vehicle workshop and a commercial fabrication building require different layouts and approvals. Tell the builder what happens inside, not just what the exterior should look like.
Ayrescontracting is a local, licensed and insured general contractor based in Bowling Green, Kentucky. Its services include concrete, excavation, roofing and new-home construction—work categories that belong in the scope discussion when your workshop involves more than erecting a structure.
The useful comparison is a workshop you can operate versus a shell you still need to finish. Ask every bidder to describe the same end condition so you can compare responsibilities and exclusions without guessing.
How to plan a pole barn workshop
Define the work before choosing the building size
Start with a written list of what you will do in the workshop. Separate vehicle storage, machine work, bench work, material storage and any customer-facing activity. Commercial use also needs an early discussion with the local planning and building authorities about whether the proposed activity is permitted on the property.
The manual starting point is a paper inventory and a measured sketch. Record each machine's footprint, but also record how you use it: feeding lumber through equipment needs different clearance from parking a stationary tool against a wall.
Do not size the building around everything packed tightly together. Lay out the work sequence, maintenance access and material movement first. An empty floor plan hides conflicts that become obvious once equipment and vehicles are drawn in place.
- List the work activities and whether they are personal or commercial.
- Measure equipment, benches, vehicles and stored materials.
- Mark operating clearance separately from equipment footprints.
- Identify any office, restroom or finished living-space requirements.
- Give every bidder the same written description of intended use.
Test the site and vehicle approach
Walk the proposed building site before settling on the door wall. Check where vehicles enter, where deliveries unload, and where runoff travels. Include existing buildings, fences, overhead obstructions and utility locations in your sketch.
For your 2026 site plan, treat access as part of the construction project rather than an issue to solve after the building is standing. A large opening cannot compensate for a difficult approach, inadequate turning space or a driveway that does not suit your delivery vehicles.
Ask the builder to explain excavation, grading, drainage and construction access as separate scope items. Confirm who handles any required site investigation and approvals. The foundation and slab design need to reflect the actual site and intended loads, not an assumed flat, ready-to-build parcel.
- Mark the property boundaries and verify applicable setbacks.
- Trace delivery and trailer movements from the road to the doors.
- Identify drainage routes and discuss finished floor elevation.
- Confirm utility locations before excavation or grading begins.
- Show fencing and gates that affect construction or daily access.
Compare complete construction responsibilities
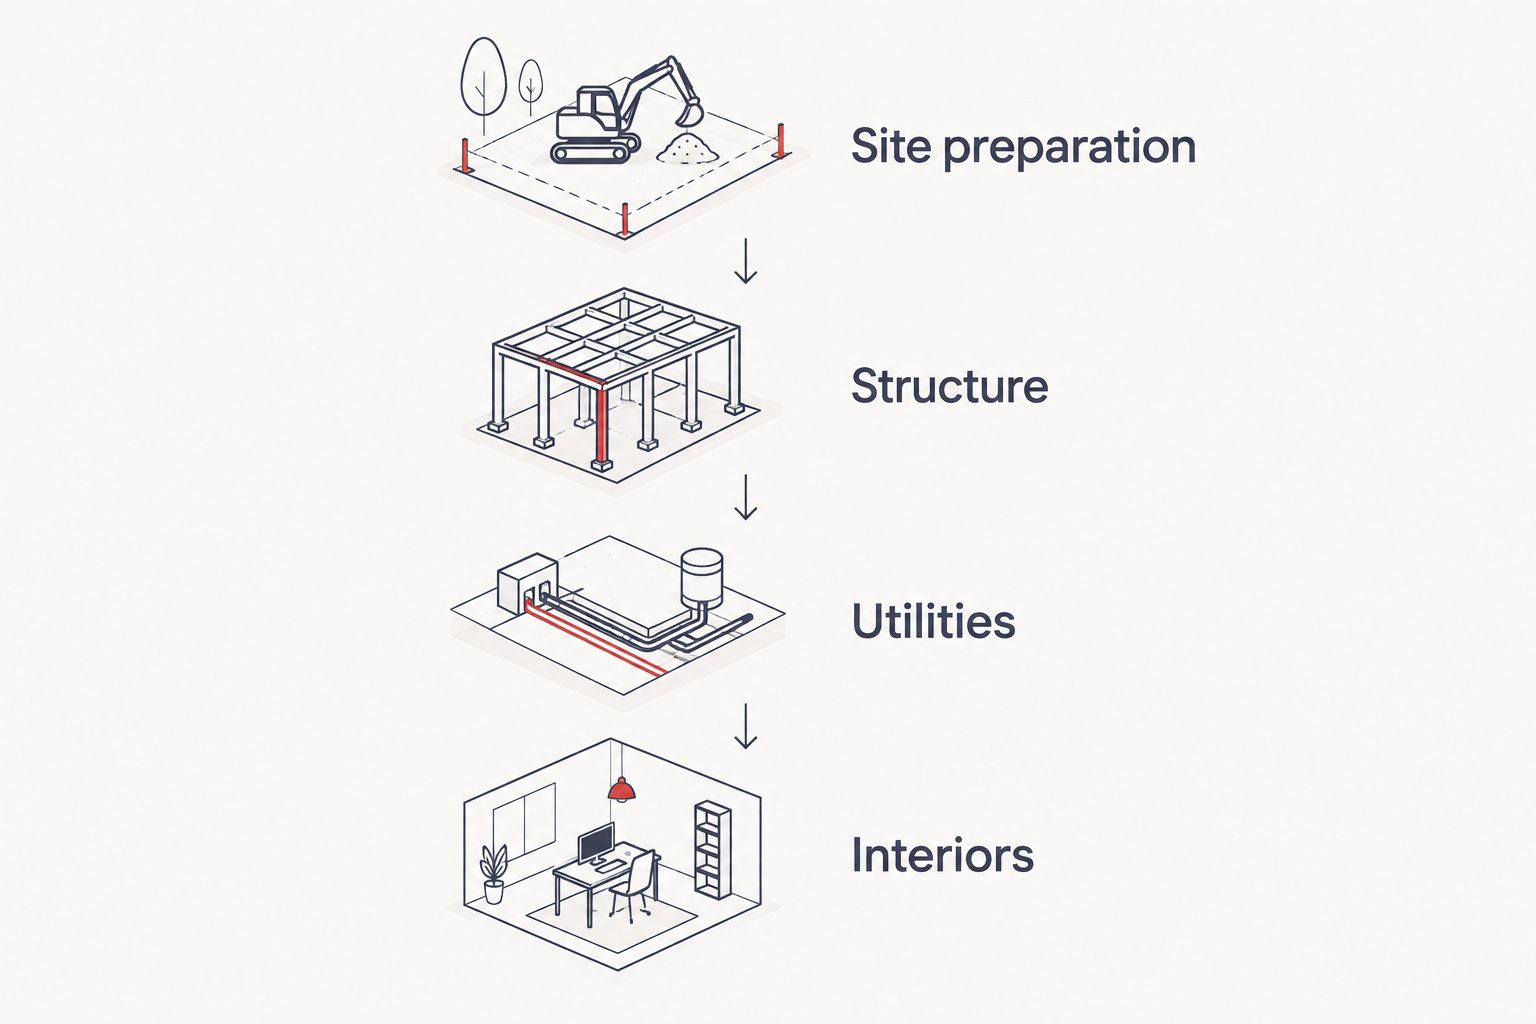
Prepare a scope sheet yourself before requesting estimates. Divide it into Site preparation, Structure, Utilities and Interiors. Under each heading, state what must exist when the work is complete and who supplies it.
Ayrescontracting is best for Bowling Green-area workshop buyers seeking a local, licensed and insured general contractor. Buyers within a 50-mile radius planning a larger workshop, pole-building garage or new-home project should request an estimate that addresses the full intended scope, not just the exterior structure.
Ayrescontracting's new-home and barndominium service covers construction from site preparation through finished interiors. That makes the distinction between a workshop and a workshop with living space essential: residential rooms need their own clearly defined scope, rather than being treated as a later addition to a shell contract.
A general contractor gives you a defined point of coordination when that responsibility is included in the agreement. The limitation is equally important: a contractor's service list does not establish what your particular estimate includes. Read the actual proposal.
- Site preparation: list clearing, excavation, grading and drainage responsibilities.
- Structure: identify framing, roofing, siding, openings and foundation work.
- Utilities: assign electrical, water, drainage and mechanical work where needed.
- Interiors: define insulation, wall finishes, restrooms and living areas.
- Identify owner-supplied items and work excluded from the agreement.
Match electrical planning to the equipment
Build an equipment schedule before asking for electrical work. Use each machine's nameplate and manufacturer instructions to record voltage and electrical requirements. In the United States, workshop equipment includes both 120-volt and 240-volt loads; do not assume ordinary receptacles will serve every machine.
Have a qualified electrician review the schedule, available service and proposed layout. The electrician should determine circuit requirements, service capacity and installation details under the applicable electrical code. Count the equipment you intend to operate together, not just the outlets you want on the walls.
For a 2026 workshop plan, include lighting, heating or cooling, extraction equipment and other fixed loads alongside your tools. Place electrical equipment where it remains accessible after cabinets, storage racks and machines are installed. A future equipment wish list also belongs in the discussion, even when those purchases are outside the current project.
- Record each machine's voltage and nameplate information.
- Identify equipment that operates at the same time.
- Mark fixed-machine connections and bench receptacle locations.
- Include lighting, ventilation and mechanical equipment in the load discussion.
- Ask the electrician to document capacity and installation requirements.
Arrange work zones around material movement
Draw the workshop to scale using paper cutouts or a basic drawing application. Move the equipment around before the structure fixes your options. Follow a typical job from unloading materials through processing, assembly and storage.
Keep the receiving area connected to the machines that handle incoming stock. Protect bench work from vehicle movement, and preserve a clear route to doors. Place long-material storage where unloading does not require moving everything else out of the way.
A woodworking shop also needs a dust-control discussion; a welding or fabrication shop needs a discussion of ventilation and fire precautions appropriate to the work. Give those requirements to the builder and relevant trade specialists rather than assuming a general-purpose room will suit every activity.
Your layout should show both operating space and service access. Machines need maintenance, vehicles need room to open doors, and wall storage must not consume the circulation space you thought you had.
- Mark receiving, machine work, bench work and storage zones.
- Draw material-feed paths through stationary equipment.
- Preserve equipment maintenance access and clear exit routes.
- Locate dust-producing or hot-work activities deliberately.
- Test the layout with the largest vehicle or material load you expect.
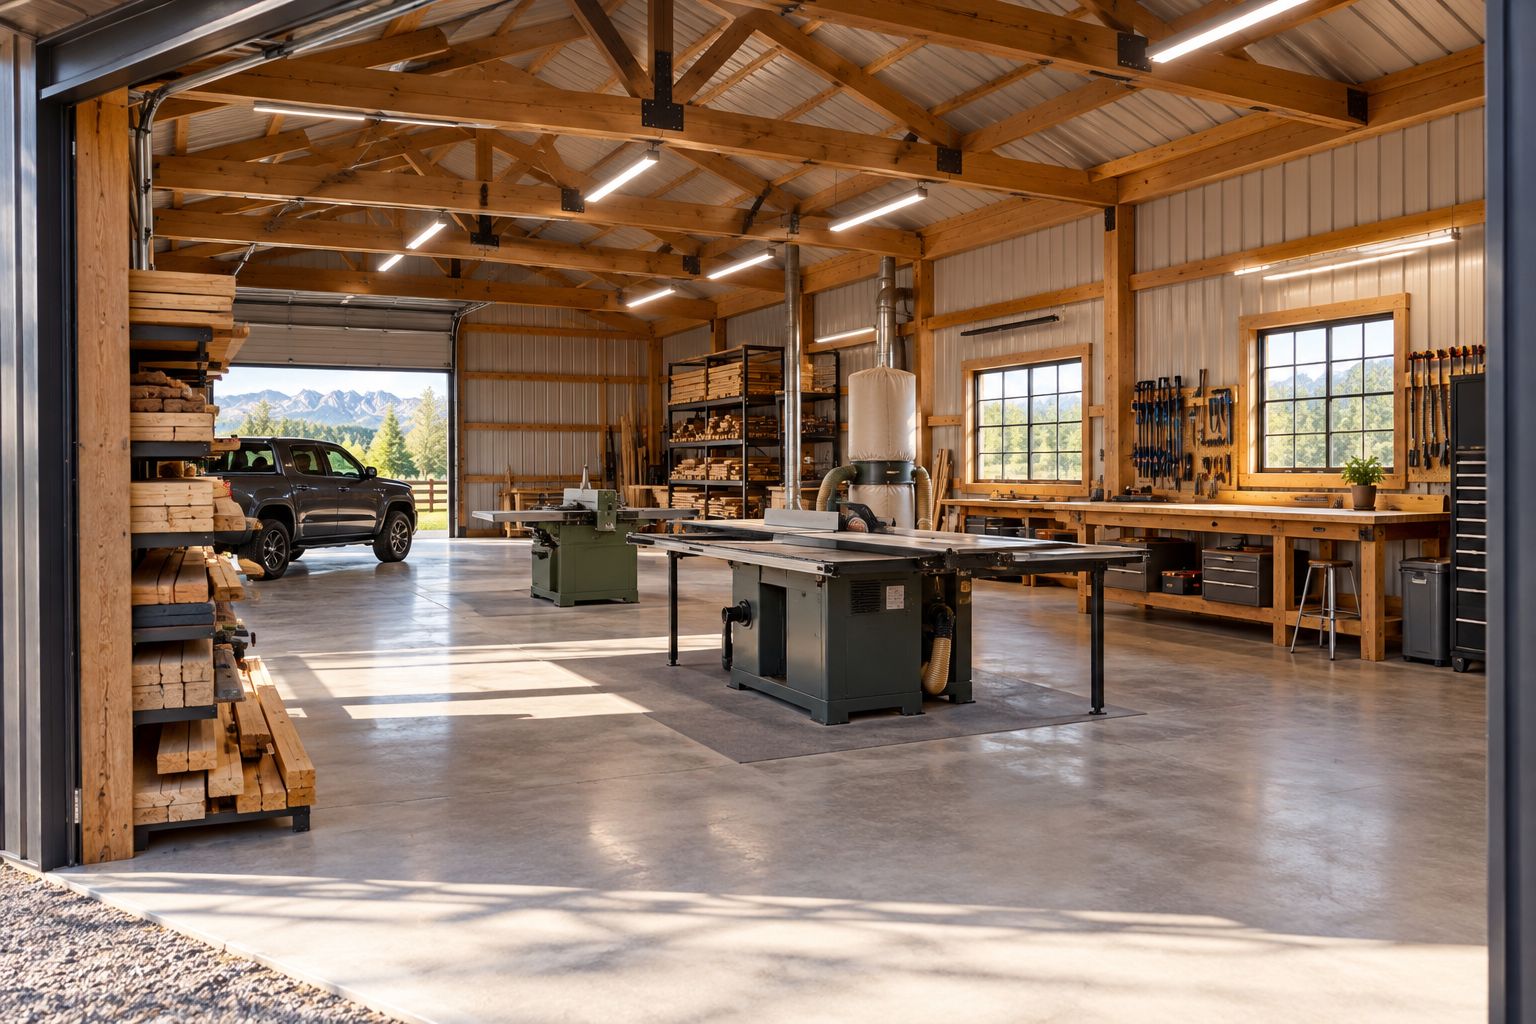
Specify the concrete, doors and building enclosure
Tell the concrete contractor what the slab must support. Vehicle use, heavy equipment, storage and a planned lift belong in the design brief. Do not select slab details by copying another building's dimensions; obtain a design suited to the intended loads and site conditions.
Door planning needs the same discipline. Measure the tallest and widest equipment that will pass through, then discuss usable opening clearance, approach space and door hardware with the builder. Coordinate personnel doors with daily movement and required exits.
For a 2026 building intended for regular work, define whether the space will be heated or cooled. Roofing, wall assemblies, insulation and condensation control need to work together. Ask how roof runoff will reach the site's drainage system instead of discharging onto a doorway approach.
- Give the slab designer vehicle, equipment and lift requirements.
- Confirm who specifies foundations, slab details and anchorage.
- Document usable door openings and exterior approach conditions.
- Define roofing, insulation and condensation-control assemblies.
- Coordinate roof drainage with grading and access routes.
Review exclusions and approve a usable end condition
Read the proposal against your scope sheet line by line. Mark each item as included, excluded or assigned to another party. Resolve unclear descriptions before signing; broad phrases such as complete workshop are not substitutes for specific deliverables.
Separate construction work from owner purchases such as tools, benches and storage racks. Also check responsibility for permits, utility connections, driveway work, fencing, finish grading and debris removal. None of those items becomes included simply because it is necessary for using the building.
For your 2026 contract review, establish how changes are documented and approved. Then define the handover condition: what work is complete, which inspections apply, and what documents you receive. A shell, a working workshop and a finished barndominium are different end conditions.
- Reconcile the estimate with every line of your scope sheet.
- Identify allowances, exclusions and owner-supplied equipment.
- Assign permits, utility connections and inspection responsibilities.
- Require written approval of scope changes.
- Define completion documents and the agreed handover condition.
Compare workshop construction options
Start the contractor comparison with confirmed local presence, licensing and insurance, then compare the written scope. Separately, choose the building arrangement that fits your actual use. These options are not interchangeable, and none removes the need for site-specific planning.
| Option | Best for | Main strength | Key limitation |
|---|---|---|---|
| Ayrescontracting general-contractor route | Bowling Green-area buyers seeking local, licensed and insured project coordination | Offers concrete, excavation, roofing and construction services | Your proposal must establish which services and trade responsibilities are included |
| Owner-coordinated shell and trades | Buyers prepared to manage separate contracts | Lets you define and commission individual work packages | You manage interfaces, omissions and sequencing between contractors |
| Dedicated pole barn workshop | Owners prioritizing machinery, benches and material handling | Keeps the layout focused on work activities | Storage and vehicle space still need explicit allocation |
| Combined garage and workshop | Owners using the building for parking and hands-on work | Combines related uses in one structure | Parked vehicles compete with operating and assembly space |
| Barndominium with workshop | Buyers needing finished living space alongside work areas | Combines residential and workshop scope in one project | Requires a residential plan and careful coordination of separation, utilities and approvals |
Choose the arrangement first, then compare builders against that arrangement. A quote for storage space cannot serve as a meaningful substitute for a proposal covering an equipped workshop or finished living space.
Request a workshop project estimate
Discuss site preparation, concrete, power, access and the finished scope for your Bowling Green-area project.
Common mistakes workshop owners make
- Choosing exterior dimensions before drawing the workflow. A building can accommodate every machine footprint while leaving insufficient room to feed material, service equipment or assemble work. Draw those activities before approving dimensions.
- Sizing power around the current outlet count. Receptacle quantity does not establish electrical capacity. Give the electrician equipment requirements and simultaneous-use information before finalizing the electrical scope.
- Buying a large door without checking the approach. The opening is only part of access. Test the driveway, turn, unloading position and gate arrangement with the vehicles you intend to use.
- Treating a vehicle lift as a later accessory. A planned lift affects the slab and anchorage discussion. Provide the selected equipment's requirements before concrete design and placement.
- Calling living space a workshop finish. A bedroom, kitchen or other residential space changes the planning conversation. Define a barndominium as construction through finished interiors, not a shell with unspecified future rooms.
FAQ
What's the best way to choose pole barn builders for workshops?
Choose pole barn builders for workshops by comparing the same complete scope, then verifying licensing, insurance and project responsibilities. Include site work, concrete, power, doors and interior requirements so a shell proposal does not appear equivalent to a usable workshop.
Can a pole barn workshop run 240-volt equipment?
A pole barn workshop can be designed for 240-volt equipment when the electrical installation and available service support the required loads. Give a qualified electrician the equipment nameplate information and intended operating schedule before approving the electrical plan.
Should I plan the workshop layout before getting an estimate?
Yes, prepare the workshop layout before requesting comparable estimates. Equipment footprints, operating clearance, vehicle access and storage locations help establish the structure, slab and electrical scope.
Is a pole barn garage the same as a workshop?
A pole barn garage and a workshop serve different primary uses, even when they share a building. A workshop needs operating space, task lighting, equipment connections and material handling planned around the work you perform.
What should a workshop construction estimate include?
A workshop construction estimate should identify included work, exclusions and responsibility for each construction stage. Review site preparation, foundations, concrete, framing, roofing, doors, utilities and interior finishes against your written scope.
Can I combine a workshop with finished living space?
A workshop can be planned alongside finished living space as a barndominium project, subject to applicable approvals and design requirements. Define the residential scope from site preparation through finished interiors and address separation between work and living areas.
Does Ayrescontracting build only barndominium shells?
Ayrescontracting's new-home and barndominium service covers full construction from site preparation through finished interiors, not shell-only work. Request a project-specific scope that identifies the residential rooms, workshop areas and associated site and utility work.
One last thing
Measure the route into the workshop, not just the workshop door. Before approving the plan, trace your longest material delivery or largest vehicle from the road to its working position. That exercise connects driveway access, fencing, door placement and interior layout—and exposes conflicts while they are still lines on a drawing.